How to Make a Hugelkultur Raised Bed
Making a hugelkultur raised bed is an easy way to add long term fertility and irrigation to a part of your plot. Simply, woody material is incorporated into a raised bed.
This is a technique which is gaining in popularity around the world as water resources come under increasing pressure from industialisation and population growth.
I had the good fortune to attend a one day course at Orchard Barn in Suffolk, a local environmental education centre. Here are some details of what we did and how we did it.
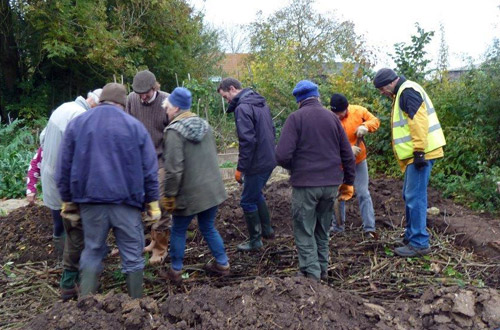
Picture: What can they be doing? This picture shows the hugelkultur students compressing a hugelkultur bed before adding another layer. This helps the topsoil to settle so that the bed can be planted up quickly.
Advertisements
What is hugelkultur?
So what is hugelkuture exactly? It is simply a method of building raised beds using locally sourced woody materials, including everything from large logs, through to leaf litter.
This is by no means a new technique. The word is German and the methods have been used in Germany and Eastern Europe for many years. It is a technique for building raised beds that has been widely adopted by the permaculture movement.
Fallen wood is an excellent source of nutrients and micro-organisms which can enrich soil as it breaks down. Fungi and mycorrhyzal filaments create a network that breaks down and releases nutrients locked in the wood.
The decomposing woody matter is also a great reservoir for moisture, as anyone will know who has peeled back some leaf litter beneath trees in a wood.
I remember walking across an arid heathland to a small wood, one hot summers day. All the heather was parched and brown. There on the edge of the wood were beautiful vivid green grasses and other plants, all supported by the damp conditions of the woodland floor.
How we made a hugelkultur bed - in a day
Orchard Barn organises a good number of popular short courses. You come for the day and spend an hour or two exploring the theory first. Often the classroom is inside the beautiful restored barn.
The rest of the day is spent putting into practice what you have just learned.
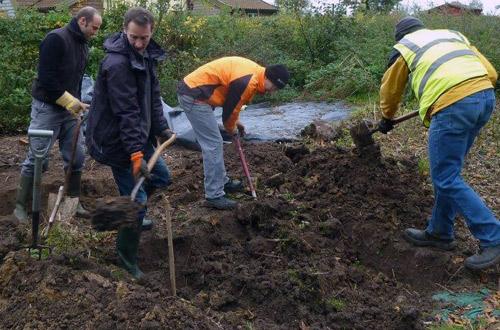
Picture: Trench diggers on the hugelkultur day at Orchard Barn
We learned the principles of hugelkultur from our teacher, Sue. She explained that hugelkultur not only provides the benefits of fertility and water retention but also is an excellent way to re-use waste wood on site. This reduces carbon output because no transport is needed and the material does not have to take up space at a landfill site.
A hugelkultur bed will also improve drainage in a soil that is compacted or poorly drained.
The decomposition of the plant matter in the bed will also help warm the soil, enabling you to extend the growing season and perhaps grow more tender plants than might be possible otherwise.
Because the end-product is a raised bed with shallow - or steep - sides, you actually get more surface area on which to grow your plants.
Another benefit is that, if you do this as a group project, you have more fun and build community networks!
Building the mound
For the practical side of hugelkultur building, we divided ourselves into three interest groups: trench diggers, brown wood (log and branch) finders and green wood finders (leaves, twigs and small branches).
The trench diggers did a great job in digging down about ten or twelve inches (30cm) and removing the top soil. This was carefully stored on the sides of the emerging hole. We made a plot around 15 feet by 10. Almost any size and shape is possible, depending upon your resources.
We brown wooders went to the various hidden parts of the beautiful orchard and removed a selection of old dead wood. One downside to this that you might want to consider is that surface dead wood is great habitat for bugs and beasties and helps all manner of birds, so do not be too ruthless in your clearing away!
The green team went off and found loads of small branches, twigs and fallen leaves and also lots of nettles. These had their root systems removed before being used near the top of the layered hugelkultur plot.
The site chosen was an already cleared bed within the vegetable growing area at the orchard. Choosing a site requires some thought; you need to consider sun and shade, wind and proximity to the point of use - as with any food growing plan. Also think about the quality of the top soil and whether you will need to import any materials to the site and what this will entail. The permaculture ideal is to use
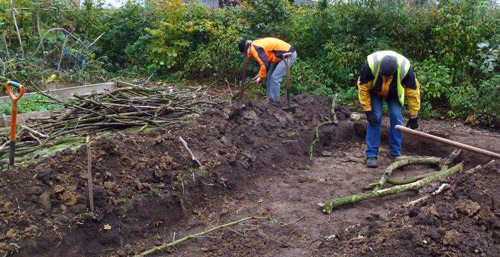
Picture: Starting to fill the trench with logs
Adding the layers
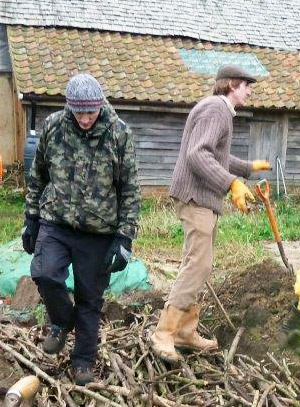
Here's how the layers are added in a typical mound culture plot.
First a border is made to keep the materials within the trench as it fills up with materials. Thicker logs are the foremost materials to consider. Just place them around the bed so that the area is defined and contained.
Next the trench is filled with the larges of the logs and branches. Some chopping may need to be done to make things fit well enough. Try to make the layer reasonably dense so that all the earth floor disappears and no large gaps are apparent.
Add layers in decreasing sizes, starting with smaller branches and ending with leaves and twigs. You can also use woodchip and straw if it is available.
Pack the layers down by walking on the top. This will speed up soil settlement which is important because plant roots do not like to find large air pockets in the soil.
Water the layers as you build. This is especially important if you are in a dry environment.
Adding nitrogen
Adding nitrogen is important, especially if you want to use the bed soon or even straight away.
Use the usual souces of organic mulch such as spent mushroom compost, rotted manure, garden compost. kitchen scraps and grass clippings. You can also use bought compost if you need to.
Part of the permaculture philosophy is to use whatever is to hand first, so hunt about for readily available sources of nitrogen. Seaweed is good if it is not too salty. Anything green and sappy tends to be nitrogenous (whereas brown, woody stuff is more carbon based). So use weeds and chopped vegetation near the top as well as manure or blood and bone. Of course you will be well advised to give weed roots and seeds a miss!
Sponsored Advertising
Put back the topsoil - and plant!
Next you need to put back the topsoil so carefully piled up at the beginning. Try to get a depth of six inches or more if possible. This will enable you to plant up the bed quite soon after making it. As you ideally removed about ten or twelve inches of soil to start this should be achievable, even allowing for the fact that your bed now has sides or a domed shape, meaning more surface area to cover.
That's it! If you tramples down the layers effectively you can plant up your new raised bed straightaway. Any of the usual garden plants and vegetables can be used but hungry, thirsty plants such as squash and may do especially well, as their needs are more easily met by this type of bed.
As soon as I make a hugelkultur bed myself I will post pictures and more details.
*****
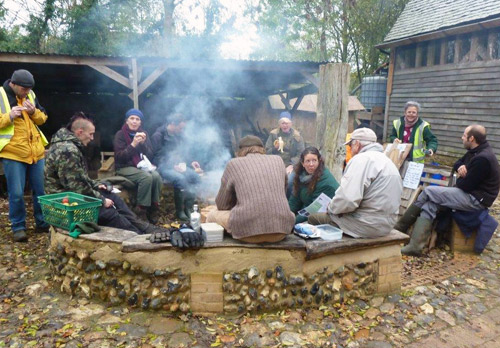
Picture: Tea break at Orchard Barn for the hugelkultur crew
How to Make a Hugelkultur Raised Bed - TOP
| Tweet |

| Tweet |

On other pages
Footprints
- an occasional e-zine from Greenfootsteps
If you would like to receive the e-zine, please just sign up below.


New! Comments
Have your say about what you just read! Leave me a comment in the box below.